
Are you looking for a simple and wholesome alternative to dairy milk? Look no further than homemade oat milk—a nutritious and delicious beverage that’s easy to make without the need for a blender. With just a few simple ingredients and minimal effort, you can enjoy the creamy goodness of oat milk right in the comfort of your own home. Let’s dive into how you can whip up this delightful drink without breaking a sweat.
The Benefits of Oat Milk
Oat milk has gained popularity in recent years due to its many health benefits:
-
Nutrient-Rich: Oats are rich in essential nutrients such as fiber, vitamins, and minerals, including calcium and vitamin D.
-
Heart-Healthy: Oats contain beta-glucans, a type of soluble fiber that has been shown to help lower cholesterol levels and improve heart health.
-
Digestive-Friendly: Oat milk is naturally lactose-free and suitable for those with lactose intolerance or dairy allergies.
-
Environmentally-Friendly: Making oat milk at home reduces packaging waste and is more environmentally sustainable compared to store-bought alternatives.
Ingredients You’ll Need
-
1 cup rolled oats
-
4 cups water
-
Cheesecloth or a nut milk bag
-
A large bowl or pitcher
-
Optional: Sweetener (such as honey, maple syrup, or dates) and flavorings (such as vanilla extract or cinnamon) to taste
Simple Steps to Homemade Oat Milk
-
Soak the Oats: Place the rolled oats in a bowl and cover them with water. Allow them to soak for at least 30 minutes to soften.
-
Strain the Oats: After soaking, drain the oats and rinse them thoroughly under cold water. Transfer the soaked oats to a large bowl or pitcher.
-
Blend Manually: Using a wooden spoon or whisk, vigorously stir the soaked oats with 4 cups of water until well combined. Continue stirring for a few minutes to ensure the oats release their creamy goodness into the water.
-
Strain the Mixture: Place a piece of cheesecloth or a nut milk bag over the opening of a clean bowl or pitcher. Pour the oat mixture through the cheesecloth or bag, allowing the liquid to strain into the bowl below.
-
Sweeten and Flavor (Optional): If desired, sweeten your oat milk with your choice of sweetener and add flavorings such as vanilla extract or cinnamon to taste.
-
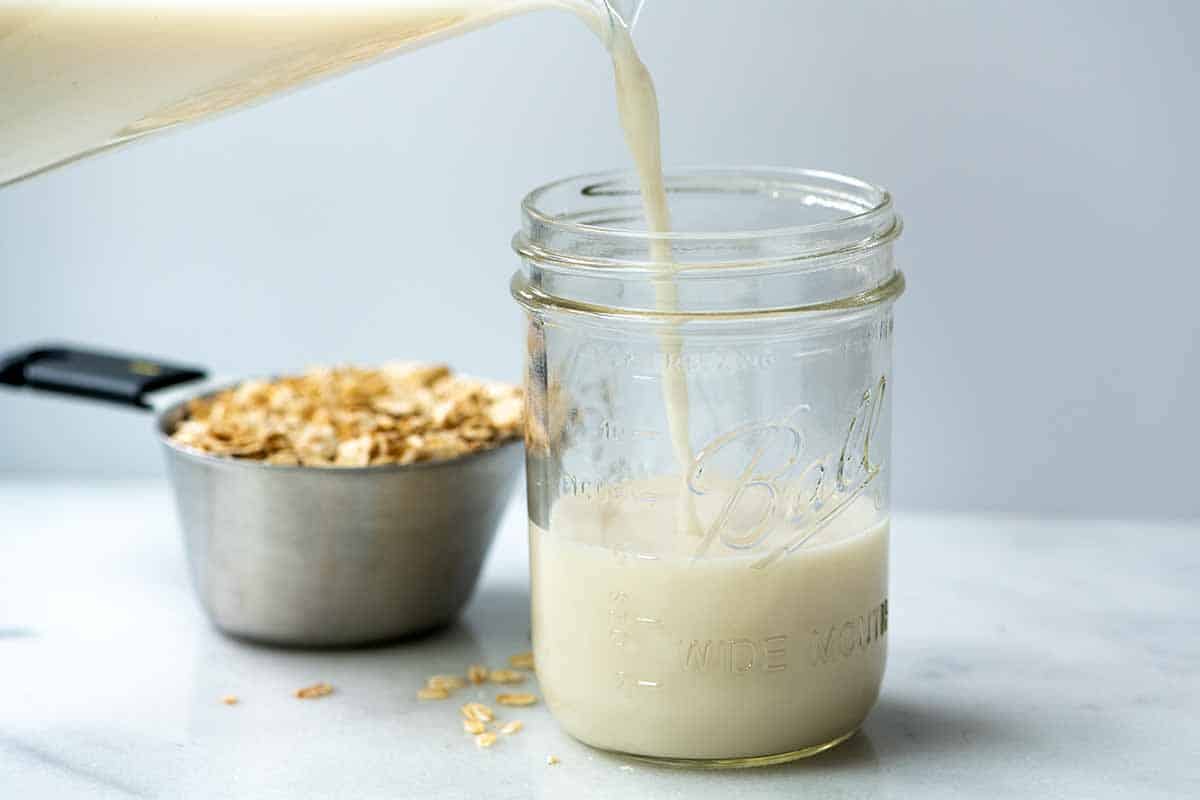
Store and Enjoy: Transfer your freshly made oat milk to a clean glass jar or bottle and refrigerate it. It will keep for up to 5 days, although it’s best enjoyed fresh.
Conclusion
With just a few simple steps and no blender required, you can whip up a batch of delicious homemade oat milk to enjoy with your favorite recipes or as a refreshing beverage on its own. Say goodbye to store-bought alternatives and hello to the wholesome goodness of homemade oat milk—it’s easy, nutritious, and oh-so-delicious!