Apple cider vinegar, with its tangy flavor and myriad health benefits, is a staple in many kitchens. While it’s readily available in stores, there’s something deeply satisfying about making your own batch from scratch. With just a few simple ingredients and a bit of patience, you can create homemade apple cider vinegar that’s bursting with flavor and goodness. Let’s embark on this delightful journey and learn how to make apple cider vinegar step by step.
Step 1: Gather Your Ingredients
-
Apples: Choose a mix of sweet and tart varieties for the best flavor.
-
Sugar: To kickstart the fermentation process.
-
Water: Use filtered or distilled water for optimal results.
Step 2: Preparation and Fermentation
-
Wash and Chop the Apples: Rinse the apples thoroughly and chop them into small pieces, including the cores and skins. The natural yeast present on the skins will help kickstart the fermentation process.
-
Combine with Water and Sugar: Place the chopped apples in a large, clean glass jar and cover them with water. Add sugar to the mixture, stirring until it dissolves completely.
-
Cover and Let Ferment: Cover the jar with a clean cloth or cheesecloth, securing it with a rubber band. This allows air to flow while keeping out any unwanted visitors. Place the jar in a warm, dark place for about 2 weeks, stirring the mixture daily to ensure even fermentation.
Step 3: Strain and Ferment Further
-
Strain the Mixture: After 2 weeks, strain the liquid from the apple solids using a fine-mesh sieve or cheesecloth. Discard the solids and transfer the liquid back into the jar.
-
Continue Fermenting: Cover the jar again and let the liquid ferment for an additional 3 to 4 weeks. During this time, natural fermentation will transform the liquid into vinegar, developing its characteristic tangy flavor.
Step 4: Bottling and Storage
-
Taste Test: After 3 to 4 weeks, taste the vinegar to determine if it has reached your desired level of acidity. If not, continue fermenting until it reaches the desired taste.
-
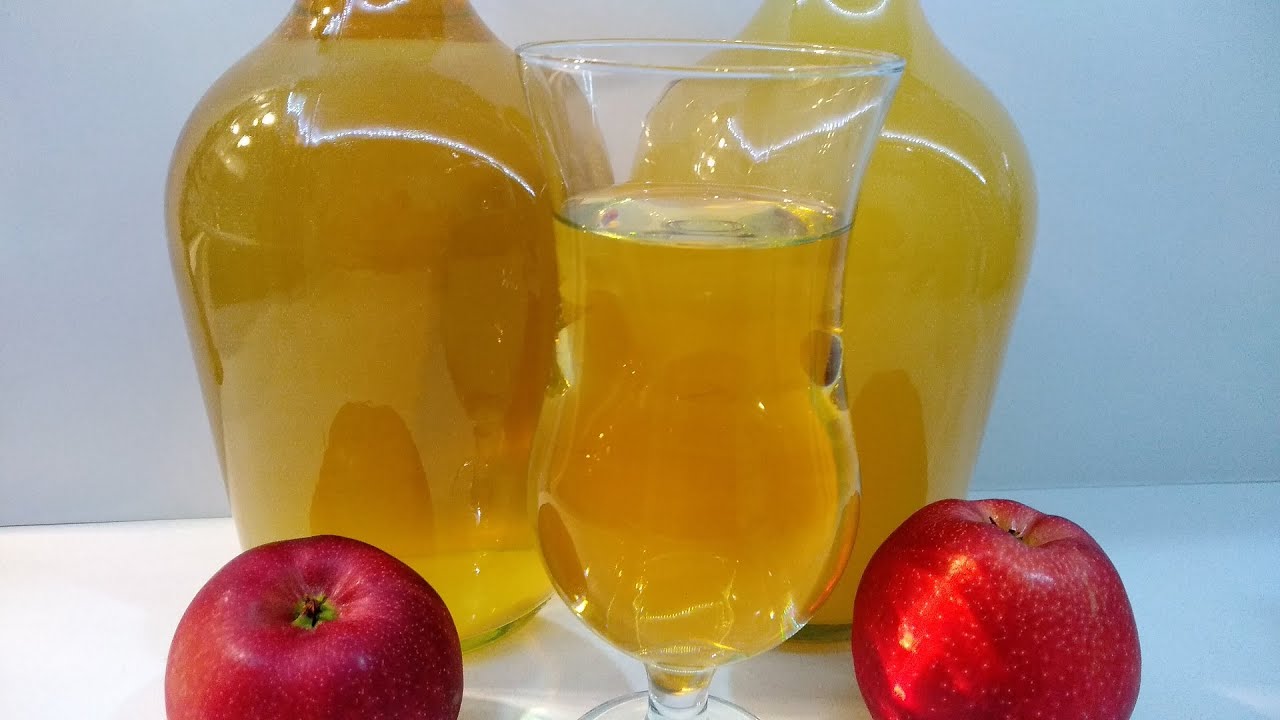
Bottle and Store: Once the vinegar is ready, transfer it to clean glass bottles or jars with tight-fitting lids. Store it in a cool, dark place, away from direct sunlight, where it will continue to mature and develop flavor over time.
Embrace the Homemade Goodness
Making apple cider vinegar at home is a rewarding and surprisingly simple process. With just a few ingredients and a bit of patience, you can create a flavorful and nutritious vinegar that’s perfect for dressings, marinades, and more. So, why not give it a try? Embrace the joy of homemade goodness and savor the fruits of your labor with every tangy sip!